Updated on by Rita Moreira
Put a reference in front of most beginners and the first instinct is to chase the outline: start at one edge and try to fence the whole subject in with a single careful line. It feels natural, because we learn to recognise things by their edges from childhood. The trouble shows up on the paper, where a freehand contour drifts out of proportion, gets corrected, rubbed out and redrawn until the sheet is smudged and the patience is gone.
There is a simpler route, and it is the same one used for a horse, a teacup or a face. Instead of drawing the thing, you first draw the structure underneath it. This guide walks through the method, a worked example and the sketching habits that make it stick.
How do you draw anything?
You can draw anything by breaking the subject down into simple shapes first: circles, ovals, rectangles and triangles. Instead of attempting a perfect outline in one go, you build a light structure that fixes position, proportion and angle, then refine the detail over that base. The result is far less erasing and a drawing that stays in proportion from the start.
In practice the whole method fits into five steps:
- Study the reference and ask which simple shapes fit inside it.
- Sketch those shapes lightly with an HB or 2H pencil.
- Compare the shapes to each other and correct sizes, gaps and angles.
- Add the detail on top, using the shapes as scaffolding.
- Rub out the construction lines and keep only the finished drawing.
Every stage exists to protect the next one. Correcting a loose oval costs seconds, while correcting a finished, detailed contour can cost the whole drawing.
Why does breaking a subject into simple shapes work?
Simple shapes work because your brain has been comparing circles, rectangles and triangles since you were small. They are easy to visualise, easy to judge against each other and easy to correct, so they let you solve the genuinely hard part of a drawing (position, proportion and angle) without drowning in detail. The complex outline you were afraid of becomes a set of small problems you already know how to handle.
The mistake I see most often is the reverse order: finishing before structuring. A beginner polishes one eye for an hour, then discovers it sits in the wrong place, and everything has to go. Structure first, finish second is the habit that separates a frustrating hobby from a rewarding one, and it is the backbone of any good plan for learning to draw as an adult.
An honest caveat: this is not the most precise technique in existence. When a commission demands millimetre accuracy, the grid method or a traced structure via tracing paper or a lightbox is more reliable. For starting a drawing, sketching quickly and training your eye, though, few tools earn their place like this one.
How do you turn a real subject into shapes? A horse, step by step
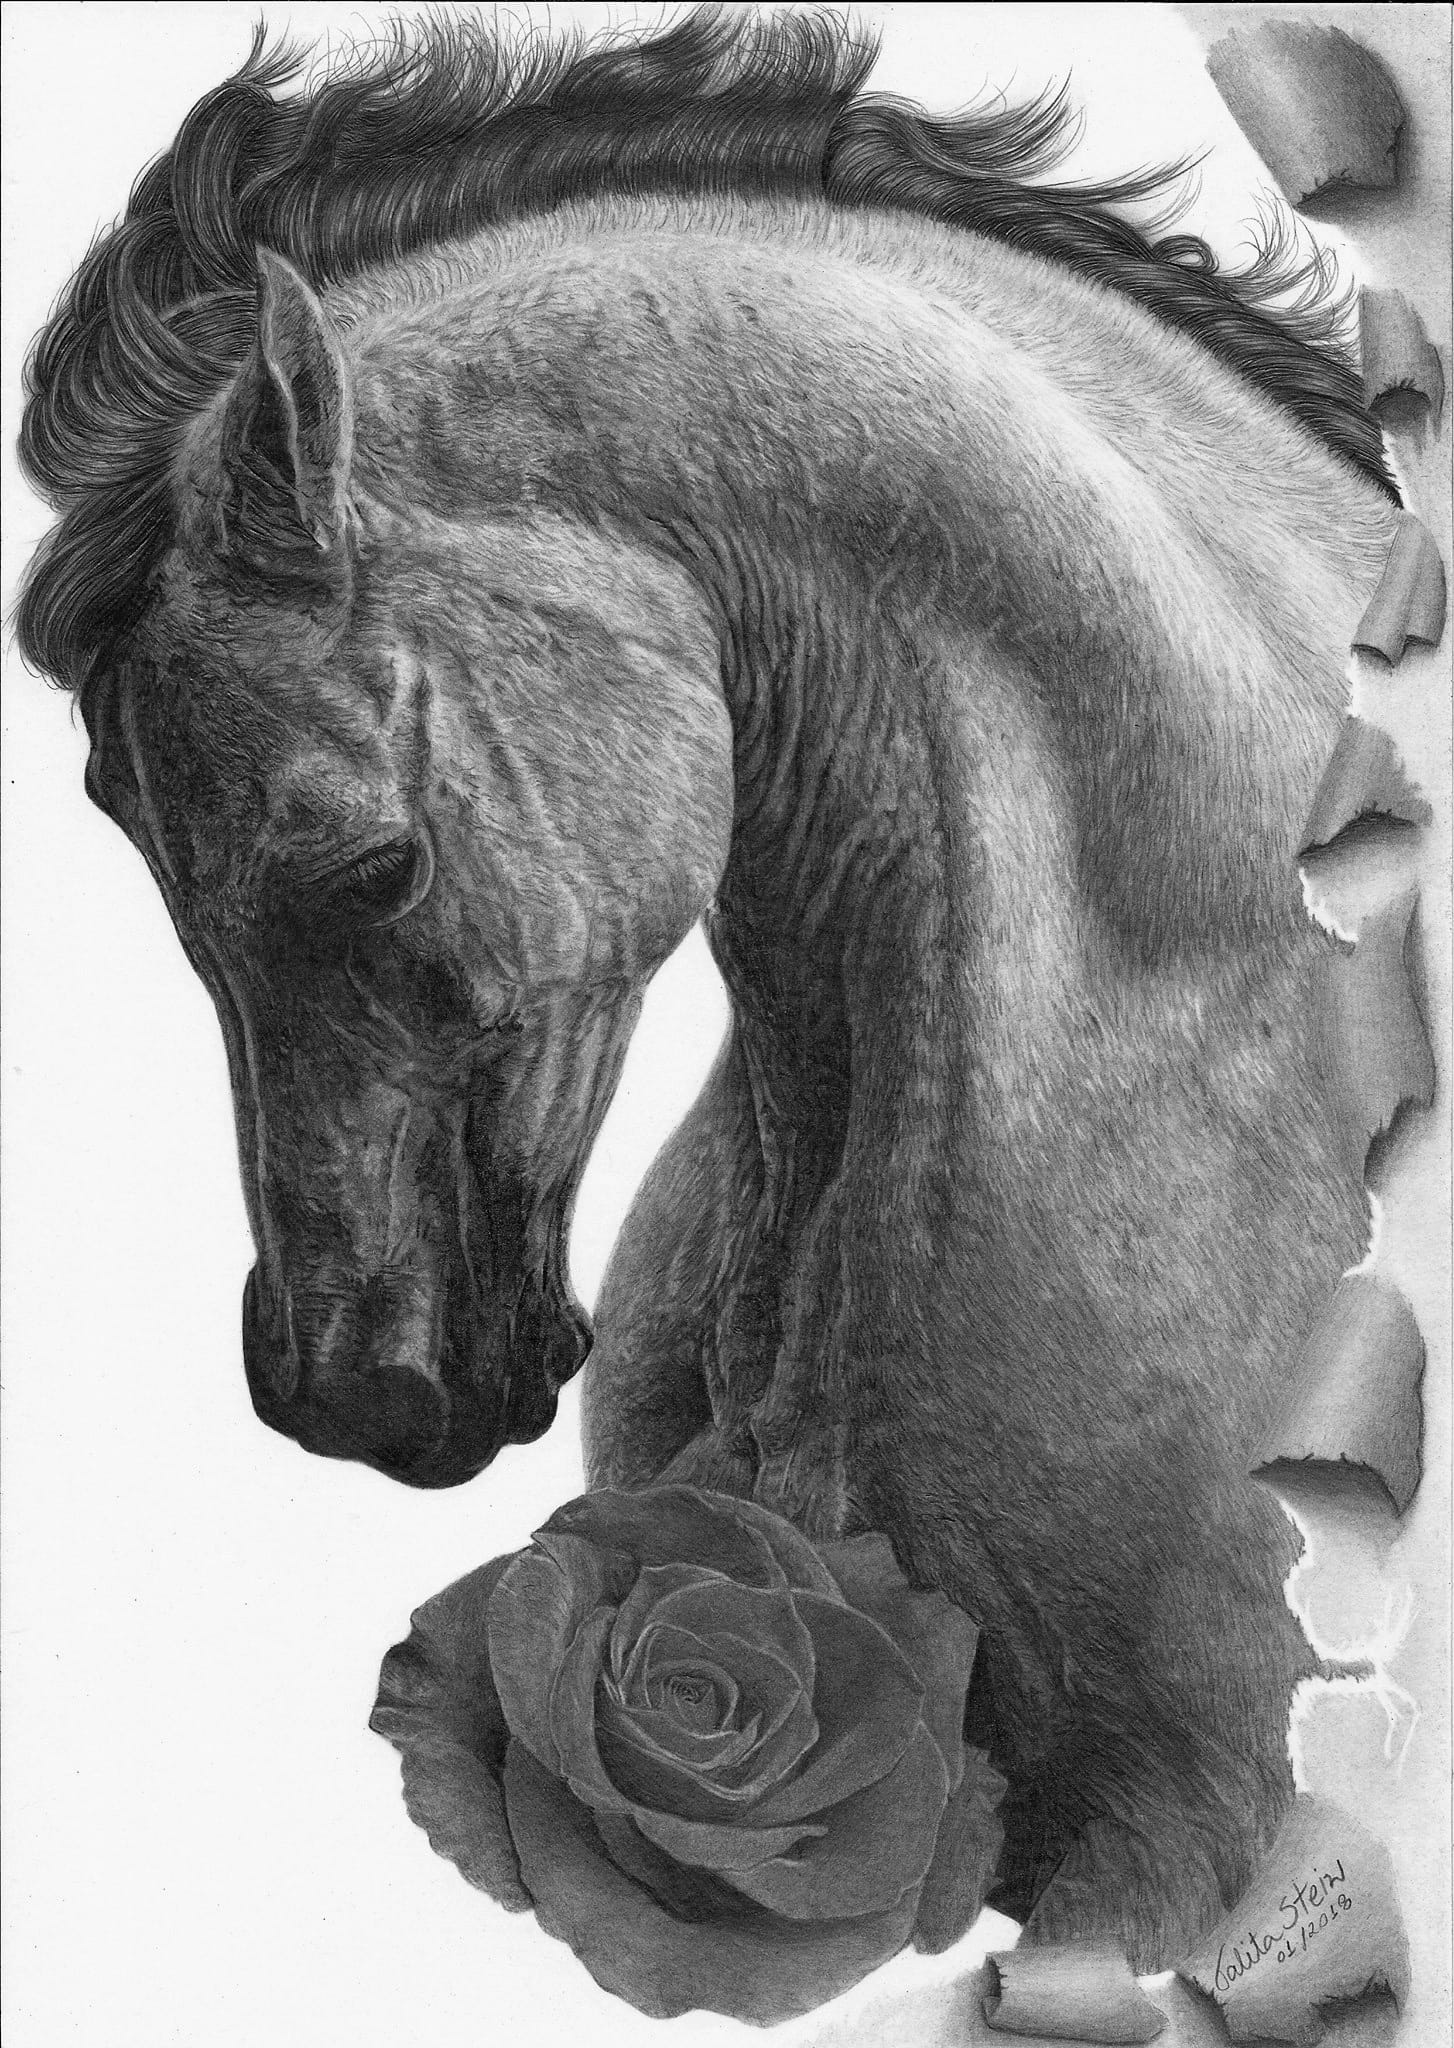
Take a horse, a subject that scares most beginners. Before touching the paper, interrogate the reference: which simple shapes are hiding in there? A horse resolves into one long rectangle for the body, an oval for the head, four cylinders for the legs and two small triangles for the ears.
Sketch that arrangement lightly and you have already answered the questions that ruin most drawings. Where does the head sit relative to the body? How long are the legs compared with the torso? At what angle does the neck meet the shoulders? Each part now has its place, its proportion and its angle resolved before a single detail exists.
This structural stage is exactly the right moment to be fussy. Check the shapes against the reference, nudge them, redraw them. Erasing a circle is cheap; erasing a finished, carefully shaded contour is expensive, both in time and in the state of your paper.
What are the best sketching habits for this method?
Use a medium grade for the structure, HB or 2H, and keep the lines whisper-light. Pale lines are easy to remove with an eraser (rubber, on this side of the Atlantic) and leave no groove in the paper if you need to reinforce something later. A pencil range such as the Staedtler Mars Lumograph 100, which runs across 24 degrees from 12B to 10H, covers this stage and every one after it.
Move from the shoulder and the elbow, not just the wrist. Big, loose arcs give the structure a natural flow that cramped wrist strokes never manage, and they stop the sketch from tightening up too early. When I sketch, I happily let three or four light lines search for the right position, because at this stage a repeated line is information, not a mistake.
Finally, refuse the details, at least for now. While the structure is going down, the fur, the eyelashes and the highlights are a distraction; your only job is to get the big shapes agreeing with each other. Everything you resist drawing now will be easier to draw later.
How do you go from structured sketch to finished drawing?
Once the structure sits right, start layering information over it: muscle over the rectangle, the shape of the jaw over the oval, fur direction, the expression in the eye. The construction lines act as a guide beneath the drawing, and the subject slowly comes alive on top of them. When the detail is in place, rub out whatever remains of the initial shapes, and what is left is a drawing whose proportions would rarely have survived an outline-first attempt.
From here, the path into realism is gradual. The next layers are reading light and shadow properly and using tonal work to make the drawing look three-dimensional, with the full journey mapped out in this guide to realistic pencil drawing. Each new layer assumes the one before it.
And if you practise regularly but the results still bother you, the bottleneck is usually perception rather than talent; this checklist on why drawings look bad helps you name the real problem. Faces respond especially well to construction, by the way: if portraits are your goal, my step-by-step guide builds a whole realistic face from these same simple forms, so you can learn to draw features that actually resemble the person.
Where can you buy sketching pencils in the UK?
Hobbycraft, Cass Art and Jackson’s Art all stock HB and 2H graphite pencils individually and in sets, including Derwent, which has been making pencils in the Lake District since 1832. Amazon.co.uk carries the same ranges if you prefer everything in one basket.
Frequently Asked Questions
What is the easiest way to draw anything?
The easiest reliable way is shape construction: reduce the subject to circles, ovals, rectangles and triangles, get those proportions right, then detail over the top.
It beats outline-first drawing because your corrections happen early in the process, while they are still quick and cheap, instead of arriving after an hour of careful rendering.
Tracing can feel easier still, but it teaches your hand without teaching your eye. Construction trains both at once, which is why it works on subjects you have never drawn before.
Is there a book that teaches you how to draw anything?
Several drawing manuals in UK bookshops carry a promise like this on the cover, and most of them teach some version of the same idea: build the subject from basic forms before detailing.
A book is a pleasant companion, but this method needs no purchase at all. A reference photo, an HB pencil and twenty minutes of practice teach more than a chapter read on the sofa.
If you do buy one, treat it as a source of guided exercises, not as the skill itself.
Does the method work for cute, cartoon-style drawings?
Yes, completely. Cartoon and cute styles are shape construction with the proportions deliberately exaggerated: a huge circle for the head, a tiny oval for the body, and the charm comes from that imbalance.
Realism uses exactly the same scaffolding but keeps every proportion honest to the reference in front of you.
That is the quiet power of the method: one skill, every style. Once you can see the shapes inside a subject, you choose whether to render them faithfully or play with them.
Did this article help you? You can buy me a coffee so I can keep creating free guides like this one.