Updated on by Rita Moreira
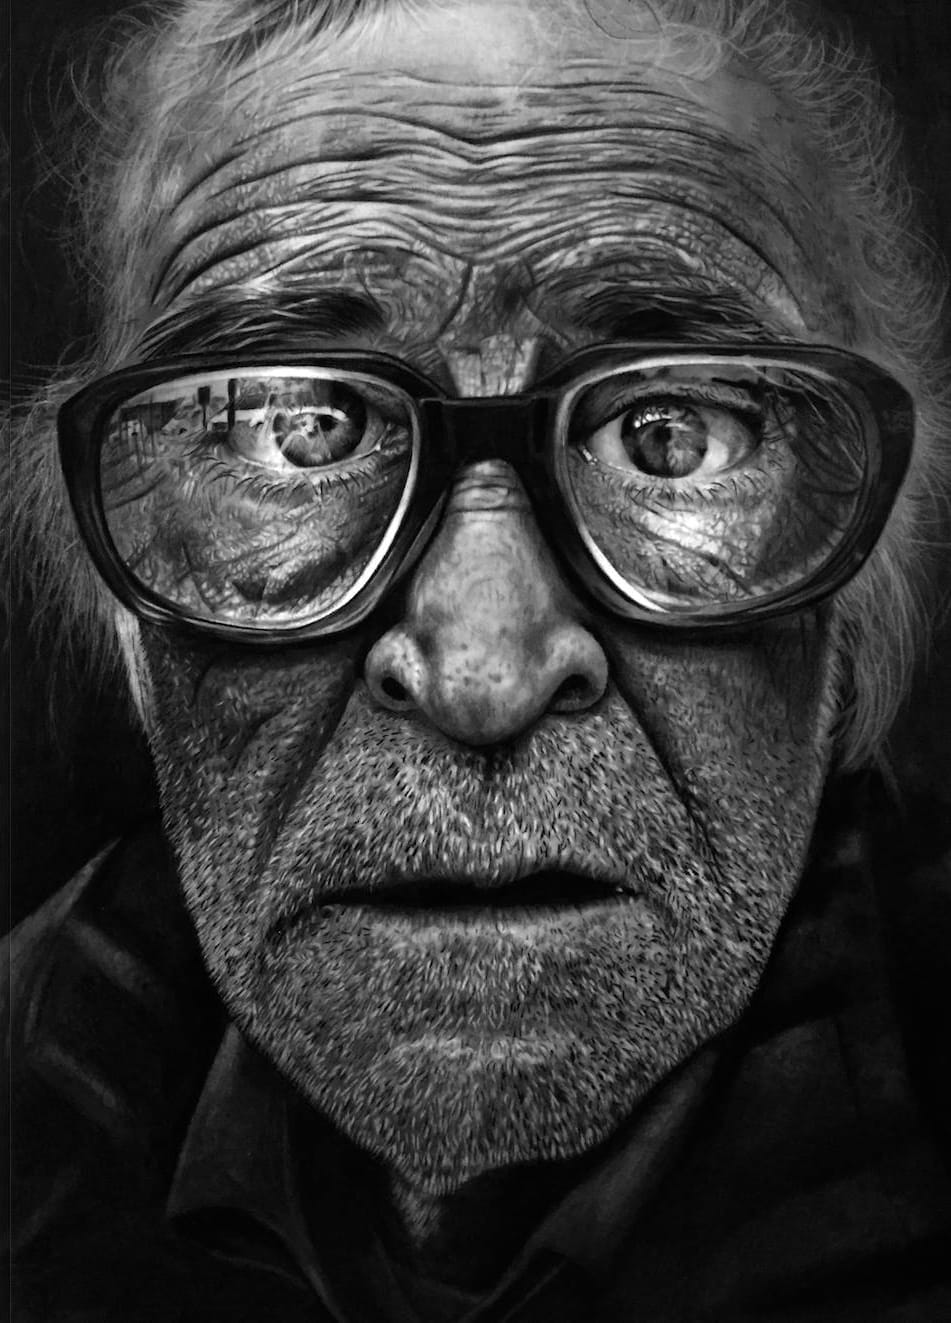
You have probably seen a pencil drawing online that made you look twice: a portrait so detailed you could swear it was a photograph. That is realistic pencil drawing, and the term gets used so often that it is worth pausing to ask what it actually means, where it came from, and how ordinary people learn to do it.
In this guide I will walk you through the whole territory: the definition, the history behind the word “realism”, the difference between photorealism and hyperrealism, and the fundamentals you need if you want to try it yourself. No talent required at the door, just a pencil and a bit of patience.
What is realistic pencil drawing?
Realistic pencil drawing is the practice of representing a subject, whether a face, an object or a scene, as faithfully as possible to a visual reference, usually with graphite or charcoal pencils on paper. It draws its name from the Realist movement of 1850s France, absorbed the methods of twentieth-century photorealism, and today reaches into hyperrealism, where a drawing can feel more present than the photo it came from.
What defines it is not the material but the intention. You can work in graphite, charcoal, coloured pencil or ink: the moment you commit to fidelity to the reference as the core value of the piece, you are drawing realistically. Graphite remains the most popular route because it is cheap, forgiving and capable of an enormous tonal range.
Where does the word “realism” actually come from?
Realism as a named movement was born in France in 1855, though artists had chased true-to-life images since antiquity: Greek sculpture already rendered anatomy and expression with startling accuracy. As an aesthetic idea, realism simply means a faithful imitation of nature, without idealising it.
The name itself we owe to the French painter Gustave Courbet (1819 to 1877). When the Exposition Universelle of 1855 turned down his major works, judged too raw and unflattering, Courbet built his own pavilion nearby and called the show “Le Réalisme”. He painted society as it was, poverty included, in direct opposition to the polished idealism of Romanticism. Other painters followed, then writers and playwrights, and a movement was born.
It is a useful reminder for anyone learning today: realism was never about being safe or decorative. It was about looking honestly at the subject in front of you, which is still the whole job.
What is the difference between realism, photorealism and hyperrealism?
The three terms describe increasing degrees of fidelity and intent, and knowing them helps you name your own goal. Tate defines photorealism as painting that reproduces a photograph with maximum precision, a school that took hold in the United States in the late 1960s. Critics at the time complained it erased the artist’s personality; the work was deliberately cool and free of emotional charge.
Hyperrealism kept the photographic precision but reversed the temperature. Artists such as the German Dirk Dzimirsky or the Italian Marco Grassi amplify texture, atmosphere and emotion until the piece feels more alive than its reference. The British-born sculptor Jamie Salmon does the same in three dimensions, with silicone that mimics human skin.
| Approach | When it emerged | Relation to reference | Emotional charge |
|---|---|---|---|
| Realism | France, 1855 | Faithful to nature | Social, critical |
| Photorealism | USA, late 1960s | Copies the photograph | Deliberately neutral |
| Hyperrealism | Late 20th century | Goes beyond the photo | Amplified, sensory |
Most pencil artists I teach are aiming, whether they say so or not, at hyperrealism: not just copying a reference, but making the viewer feel the subject is in the room.
What are the fundamentals of realistic pencil drawing?
Realistic pencil drawing rests on four fundamentals: tonal values, the light source, blending and edges. Everything impressive you have ever seen in a realistic portrait is built from these four, layered patiently. Graphite pencils are graded from 9H (hardest, palest) to 9B (softest, darkest), and you use that range to translate what you see into tone.
- Tonal values. Train yourself to see light and dark before you see “eye” or “nose”. A drawing with accurate values reads as real even when the outlines are loose.
- Light source. Decide where the light comes from and keep every shadow consistent with it. The mistake I see most often in my students is shading each feature separately, as if each had its own private sun.
- Blending. A blending stump, a soft brush or a careful finger turns pencil strokes into smooth gradients. Softer grades saturate quickly: when I work a dark area with a 6B, I build it in light layers rather than pressing harder.
- Edges and texture. Real subjects mix crisp edges with soft ones. Skin, hair and fabric each ask for a different stroke, and that variety is what sells the illusion.
The classic training ground for all four is the face. Working through how to draw a realistic eye teaches values and catchlights; drawing realistic lips is a masterclass in soft edges and skin texture. If you would like a hand held through that whole journey, from first sketch to finished portrait, my step-by-step ebooks were written to take you from blank page to a face you are proud of.
How do you start realistic pencil drawing as a beginner?
Start small, start simple, and start with objects rather than faces. An HB and a 4B pencil, an eraser (rubber), and a pad of cartridge paper are genuinely all you need for your first months; the kit can grow later. What matters early on is drawing regularly, not owning twelve pencils.
A progression that works well for the students I have taught: begin with simple objects (a mug, an egg, a crumpled receipt), because they teach values and light without the pressure of a likeness. Move on to nature and animals, where texture becomes the challenge. Save portraits for last: they are the most demanding and the most rewarding. When you want deeper blacks and more drama than graphite gives, learning how to use charcoal pencils is the natural next step.
And be patient with your early work. The gap between what your eye can judge and what your hand can do closes with practice, not with talent. Every artist whose work stops you mid-scroll once drew a wobbly mug.
Where can you buy drawing materials in the UK?
You are well served locally: Jackson’s Art and Cass Art carry serious ranges online, Hobbycraft has branches across the country for picking things up in person, and Amazon.co.uk stocks the basics. It is also worth knowing that Derwent has been making pencils in the Lake District since 1832, so a world-class graphite range is, for once, the local option.
Frequently Asked Questions
Are realistic pencil drawings good for beginners?
Yes, as long as you choose beginner-friendly subjects. Realistic drawing is a school of fundamentals: values, proportion, light and texture, and those skills transfer to any style you adopt later.
The trap is starting with a full portrait and concluding you have no talent when it goes wrong. Start with a single object under a lamp and the same techniques suddenly feel achievable.
In my experience, beginners who spend their first weeks on simple still-life studies progress faster than those who chase an impressive result straight away.
What should I draw first: objects, nature or animals?
Objects first, then nature, then animals. A simple object such as an egg or a mug isolates the core skills: seeing values, placing shadows consistently and blending smoothly, without the pressure of capturing a likeness.
Nature subjects, like leaves or tree bark, add organic texture. Animals then combine texture with anatomy and expression, which makes them a bridge towards portraits.
Each stage borrows from the last, so nothing you practise is wasted. Move on when a subject starts feeling comfortable rather than frustrating.
How do I learn realistic pencil drawing step by step?
Follow a sequence: learn to see tonal values, establish one light source, practise blending, then study edges and texture, one subject at a time.
Work from good references, draw regularly even if only twenty minutes an evening, and compare your drawing to the reference at arm’s length rather than up close.
Structured guides help enormously here, because they stop you practising mistakes. Follow one tutorial to the end before hopping to the next: finishing teaches you more than starting ever does.
Did this article help you? You can buy me a coffee so I can keep creating free guides like this one.