Updated on by Rita Moreira
Most people who ask me how to practise drawing already practise a lot. They fill sketchbook after sketchbook, yet the work from six months ago looks worryingly similar to the work from last night. The problem is almost never the hours: it is that the hours repeat the same loop with no feedback and no direction.
This guide covers the practice method I teach: an iterative cycle borrowed from the way software teams and industry improve their products, adapted for graphite and paper. We will look at what to repeat, how to measure progress honestly, and how to turn all of it into a weekly plan you can actually keep.
How do you practise drawing effectively?
The most effective way to practise drawing is in cycles rather than in a straight line: you revisit the same six fundamentals (materials, motor control, perception, technique, nerves and understanding) again and again, measure each round with honest feedback, and follow a short written plan. Each pass through the cycle deepens everything you learnt in the pass before.
That word, iteration, simply means going round again. In the traditional model you study your materials once, drill motor skills once, train perception once, and tick each stage off as finished. It produces results, up to a point. The iterative model never marks a stage as finished, and that difference is what separates steady improvement from a plateau.
Why does practising in a straight line stop working?
Linear practice stops working because the stages stay sealed off from each other. The understanding of materials you absorbed in week one is never revisited in the light of the motor control you built in month three, so each skill sits in its own box instead of feeding the others.
I see this constantly in my students. The knowledge is all there: they can name pencil grades, describe shading techniques and explain perception exercises. But because each piece was learnt once and shelved, nothing connects, progress slows and then stops, and they quietly conclude they have hit the ceiling of their talent.
They have not. What has hit its ceiling is the method. Practice without understanding turns into mechanical repetition, and understanding without practice never becomes skill. The way out is a structure that forces the two to keep meeting.
What does an iterative practice cycle look like?
An iterative cycle takes the six classic stages of learning realistic drawing and treats them as a loop rather than a ladder. A full pass might take a month. The point is that you then go round again, carrying everything you gained.
- Materials: what your pencils and paper can do, and what they refuse to do.
- Motor control: steady lines, even tone, pressure you can repeat on demand.
- Perception: seeing shapes, proportions and values instead of naming objects.
- Technique: the specific procedures of realistic pencil drawing, from layering to edges.
- Nerves: managing the frustration and anxiety that tighten your hand.
- Understanding: knowing why each of the above works, not just that it works.
When your perception deepens on the third pass, your relationship with your materials changes: you choose paper differently, hold the pencil with different pressure, sharpen the point at another angle. Every turn of the loop quietly rewrites the stages behind it.
This is close to what the psychologist K. Anders Ericsson described in 1993 as deliberate practice: practice designed to stretch a specific weakness, with feedback, rather than comfortable repetition. A 2014 meta-analysis led by Brooke Macnamara found that practice explains a substantial share of performance differences but far from all of it, which is exactly why the structure of your hours matters more than the raw count. The strongest realists I have studied arrived at this by instinct, circling the same fundamentals for well over a decade before anyone gave the process a name.
What should you repeat: shapes, values and faces
Repeat the humble things, because the humble things carry everything else. Freehand circles and boxes, a value scale from your darkest dark to clean white, and five-minute studies of everyday objects broken into basic shapes respond fastest to iteration. If you are at the very beginning, the sequence in my guide on how to learn to draw gives you the first full pass, and the principles of light and shadow are the single drill that pays off in every later cycle, because value control is what makes drawings look 3D.
Then point the cycle at a subject you care about. When we surveyed the students on our email list about their biggest difficulties, almost every answer named something specific: hair, skin texture, or simply “I cannot draw faces”. A named weakness is a gift, because it tells you exactly what the next loop is for. If faces are your goal, my step-by-step ebooks take you through each feature in exactly this cyclical way, so you can practise with a structure instead of guessing what comes next.
You need very little kit for any of this: an HB and a 4B from Derwent, who have been making pencils in the Lake District since 1832, will cover most exercises. Jackson’s Art and Cass Art stock the full ranges online, Hobbycraft is handy if you prefer to hold a pencil before buying it, and Amazon.co.uk has the basics.
How do you measure progress and get honest feedback?
You measure progress by documenting it, because memory flatters. Photograph every finished drawing and write three notes beside it: what worked, what fell short, and one technical question the piece raised. Every two or three months, draw the same subject again and compare the versions. Areas of real gain show the cycle working; areas that stayed identical show where it stalled.
Between those milestones, use the flip test. Hold the drawing up to a mirror, or flip the photo on your phone, and the proportion errors your eye had learnt to ignore jump out instantly. I explain the mechanism behind it in my guide on why your drawings look bad and how to fix it.
When you ask other people for feedback, ask for reasons rather than verdicts. Not “what pencils do you use?” but “why did you choose them?”. Not “is this good?” but “where does it stop convincing you?”. Communities such as r/learnart will critique your work honestly, and observational courses like those at the Royal Drawing School, founded in London in 2000, are built around precisely this habit of questioning what you see.
How do you build a weekly practice plan?
A practice plan is a short written commitment: one specific goal, the skills it requires, and a deadline. Three questions build it. What exactly do I want (not “get better”, but “draw a convincing eye”)? Which of the required skills do I already have? And on what date will I compare results?
Start from your strengths rather than listing everything you lack: competence grows fastest where interest already lives. Then give the plan a weekly rhythm it can survive, even in a busy week.
| Day | Focus | Time |
|---|---|---|
| Monday to Thursday | One fundamental drill (shapes, values, lines) | 20 minutes |
| Friday | Study aimed at your named goal | 30 minutes |
| Weekend | One longer piece, photographed and noted | 1 hour |
Set a review date every two weeks and treat the deadline as a measuring point, not a judgement. In my experience, on a focused routine of two to three hours a day the first big jump arrives in three to four months; on a lighter routine like the one above, it comes between six months and a year. Both work. The cycle does not care how fast you go round it, only that you keep going round.
Frequently Asked Questions
How do you practise drawing anatomy?
In cycles, starting from big shapes and returning with more knowledge each time. On the first pass, reduce the skull or figure to spheres, boxes and cylinders and copy simplified diagrams. On the next, study one region at a time and name what you draw: bone landmarks first, muscles later.
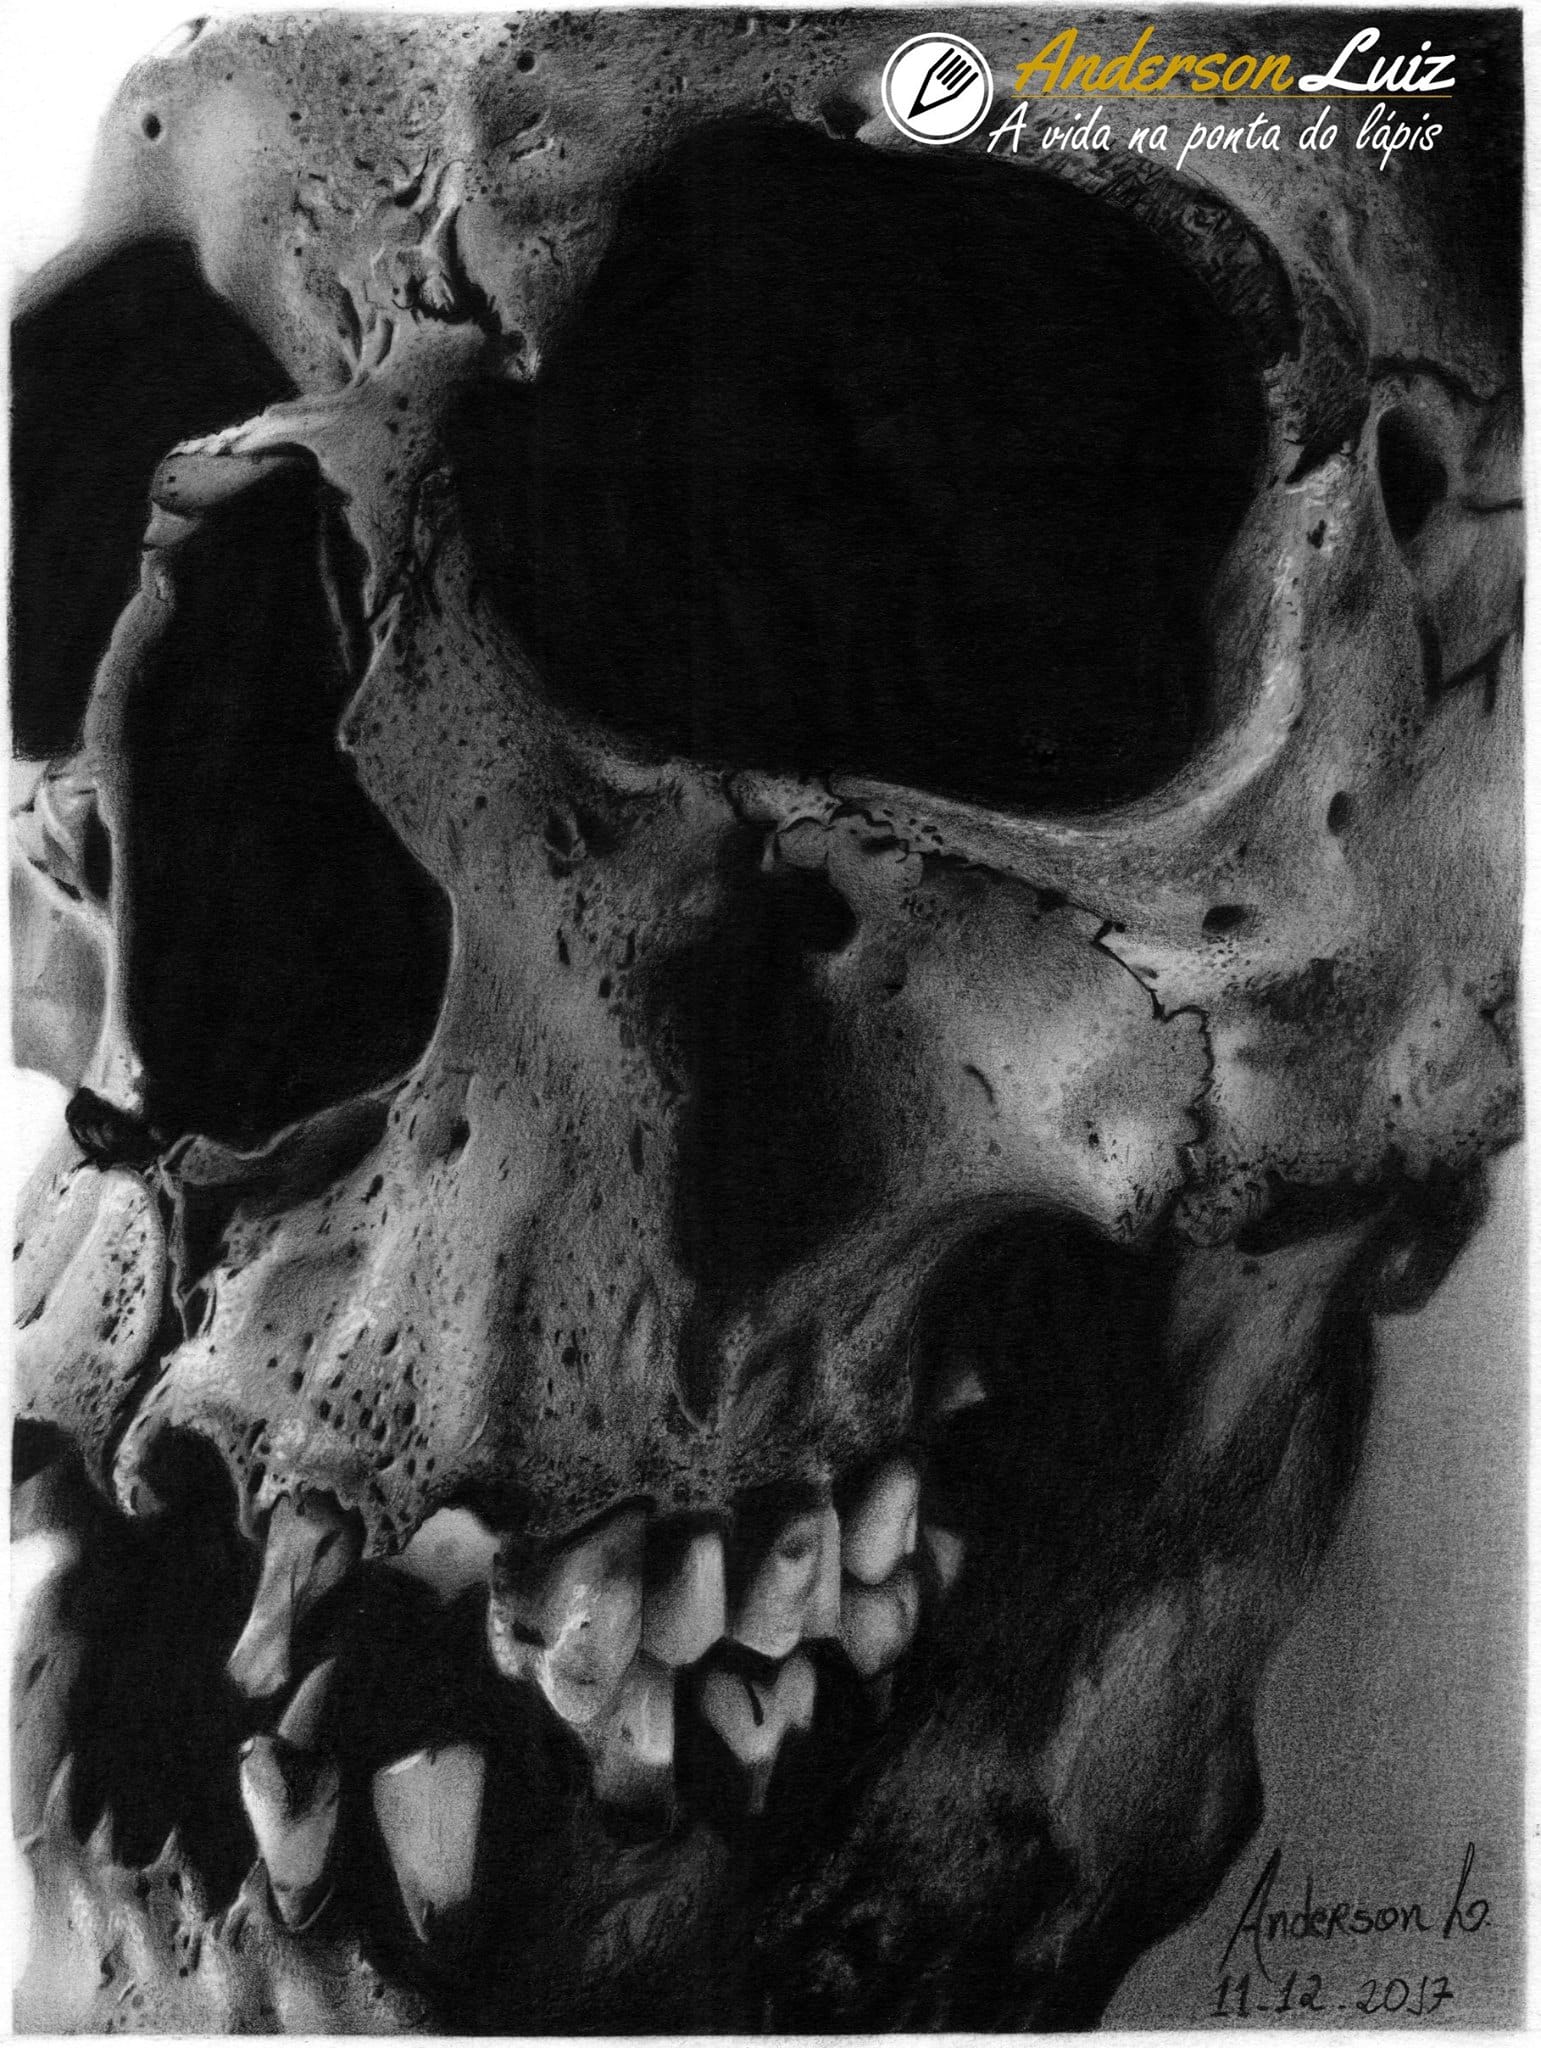
Skull studies, like the gallery drawing above, are the classic drill because the forms are difficult, the values extreme, and every error is visible.
Anatomy rewards iteration more than almost any subject: the same reference redrawn after two months shows exactly what your perception has gained.
How do you practise drawing hands?
Little and often, using the free model attached to your other arm. Do five-minute studies of your own hand in different poses: relaxed, gripping, half open. Reduce it to a box for the palm and cylinders for the fingers before touching any detail.
Most failed hands die at the first stage, when proportions were guessed rather than measured. Check the middle finger against the palm: they are close to the same length.
Ten short studies teach more than one laboured drawing, because every restart is another turn of the cycle.
How do you practise drawing people?
One layer of the cycle at a time. Start with overall proportion (an adult figure stands roughly seven and a half heads tall), then practise features in isolation, then study how light behaves on skin and fabric.
Attempting everything in a single portrait overloads every stage at once, which is why a portrait of a loved one is both the most common first project and the most common reason people quit.
Rotate instead: gesture sketches one week, a single feature the next, then a fuller study to see where the pieces meet.
Did this article help you? You can buy me a coffee so I can keep creating free guides like this one.