Updated on by Rita Moreira
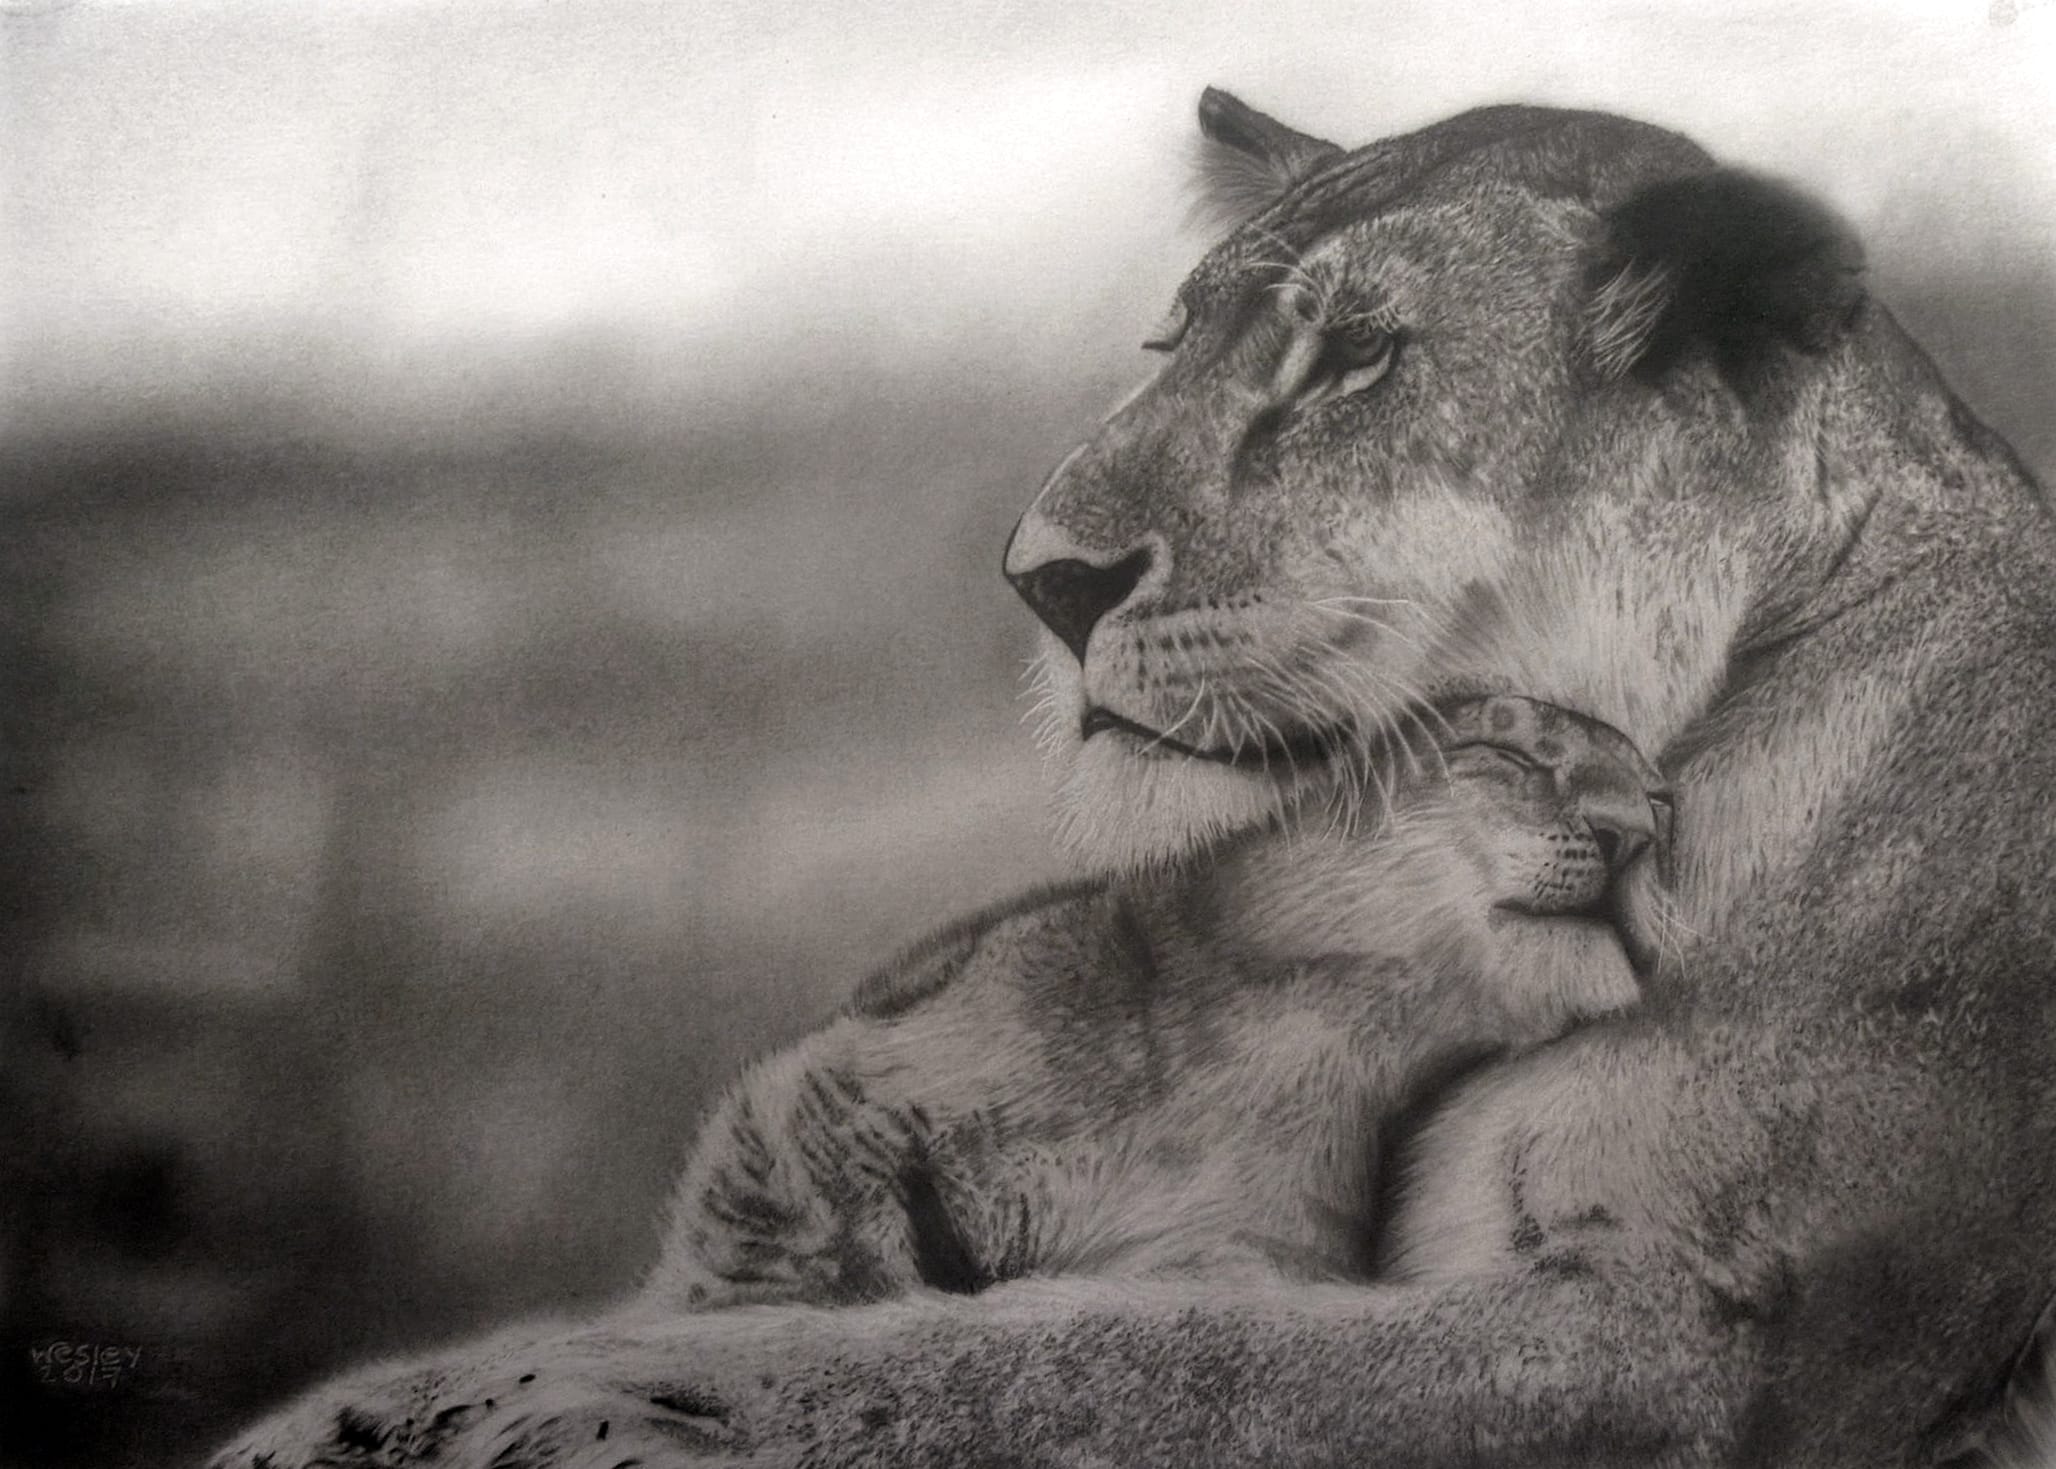
Fur looks like the most laborious thing you could possibly ask of a pencil: thousands of hairs, all different, all catching the light in their own way. In truth, convincing fur rests on one repeatable stroke and one slightly sneaky tool, and both can be learned in an evening.
The method below is the one I teach for any coat, from a tabby cat to a horse’s flank. It also happens to be the exact skill you need later for human hair, so nothing you practise here is wasted.
How do you draw animal fur?
Animal fur is drawn with short, curved strokes that start and finish thin, laid in the direction the coat grows. The light hairs are pressed into the paper first with an embossing tool, so the graphite skips over them; a dark 4B or 6B pencil then builds the shadow hairs, and a soft brush ties the layers together. The movement is quick, light and curved, never slow or forced.
Before the technique, gather four things. None of them is expensive, and two of them may already be in the house:
- Paper: almost any will do, though a heavier cartridge sheet copes with the embossing tool better than thin copier paper.
- A dark, well sharpened pencil: 4B or 6B.
- An embossing tool: a pencil-like handle with a small metal ball at the tip. A dried-up ballpoint or a fine crochet hook substitutes perfectly.
- A soft brush, around a size 4 or 6.
What makes a single stroke look like a hair?
A hair, whether on a cat or a person, tapers at both ends, so the pencil stroke must begin thin and finish thin. The movement that produces this is a light, curved flick: the pencil comes in from above the paper, touches down gently, presses a little harder through the middle of the stroke and lifts away gradually at the end.
Two habits ruin it. Drawing the stroke slowly makes the line wobble, because a creeping hand cannot keep a curve steady. And planting the pencil, dragging it and stopping dead leaves both ends blunt and heavy, which reads as a scratch rather than a hair.
Imagine it in slow motion: approach, light touch, a swell of pressure mid-stroke, and a gradual lift. When my students get that rhythm for the first time, the change on the paper is immediate, and it happens within a single practice session.
How do you practise the fur stroke?
Take an ordinary sheet of copier paper and a sharp pencil or a mechanical pencil, and fill the page with flicks. Work in every direction: bottom to top, top to bottom, left to right, right to left, and at every curvature you can manage. The goal is control from any angle, because a real coat flows in every direction at once.
The first rows will be shaky or blunt-ended, and that is entirely normal. Keep the hand loose and the strokes quick, and stop only when the flicks come out naturally without thinking about them. I still fill half a warm-up sheet before starting on the animal itself, the same way a pianist runs scales.
This stroke control, more than any tool, is what separates fur that grows from fur that sits on the surface, and it feeds directly into every other skill in realistic pencil drawing.
How do you draw fur step by step with the embossing tool?
The embossing tool is the trick that makes light fur believable. Its rounded metal tip presses a narrow groove into the paper, and when the pencil passes over the top, the graphite cannot reach into the groove, so the line stays paper-white. Here is the full sequence:
- Study the reference and map which way the coat grows in each zone of the body.
- In one small patch, emboss the light hairs using the same tapered flick you practised.
- Shade over that patch with the sharp 4B or 6B, always following the coat’s direction.
- Sweep the soft brush over the area so the graphite settles into the paper’s grain and the texture softens.
- Lift a few extra bright hairs with an eraser pen, which is a fine rubber in a pen barrel; the Tombow MONO Zero cut at an angle gives crisp, hair-thin strokes.
- Move to the next patch and repeat, embossing then shading, so you can judge and adjust as you go.
Working patch by patch matters more than it seems. Embossing the whole animal in advance leaves you guessing where the grooves are, while small sections let you test the effect and correct course early. For whiskers, chest tufts and other bright details, it helps to know what artists use for white highlights before you commit.
How does fur change between cats, dogs and horses?
The base stroke never changes; length and direction do. Cats carry short, neatly aligned fur with a clear direction in each zone of the body. Dogs vary wildly by breed: a Labrador asks for short, parallel flicks, while a Golden Retriever needs long, wavy, overlapping strands. Horses have a very short, sleek body coat, but the mane and tail behave exactly like human hair, in long flowing sections rather than individual flicks.
Volume is the other half of the story. Shade the big masses of light and dark first, as a soft undertone, and only then draw hairs over that base; a coat drawn on a flat base looks like a sticker, however fine the strokes. If that tonal reading is new to you, start with how light and shadow work in a drawing and how tone is what makes a drawing look three-dimensional. The eye reads volume from the alternation of tones, not from the number of hairs.
For proof of how far this can go, look at the British wildlife artist Richard Symonds, known for life-size elephant pieces built from exactly this kind of patient, directional mark-making. And since the horse’s mane already behaves like a fringe, you are closer to portraits than you think: my step-by-step guide takes the same flick into faces, so you can learn to draw hair and features that look alive.
Where can you buy the fur-drawing kit in the UK?
Hobbycraft and Jackson’s Art both sell embossing tools (look in the papercraft aisle), soft brushes and dark graphite pencils, and Cass Art covers the same list in its city shops. Amazon.co.uk stocks the Tombow MONO Zero and everything else mentioned here in one basket.
Frequently Asked Questions
Can you draw animal fur with coloured pencils?
Yes, and the logic transfers whole: tapered strokes, following the coat’s direction, built up in layers from light to dark.
The embossing tool arguably works even better under coloured pencil, because the grooves stay paper-white beneath every layer you add. Do the embossing first, then glaze your colours over the top.
The main difference is that coloured pencil relies on layering several hues to reach depth, so keep early layers light and save the darkest tones and any burnishing for the very end.
How do you draw fur texture so it does not look flat?
Read the light before you draw a single hair. Shade the animal’s big masses first with a soft undertone, marking where light hits (top of the head, shoulders, haunches) and where shadow pools (under the belly, behind the ears).
Then draw the hairs over that base, keeping dark zones darker than light ones throughout.
The eye reads volume from the alternation of tones across the whole coat, not from the number of individual hairs. Strokes over a flat base always end up looking like a printed transfer.
How do you draw whiskers on a cat?
Emboss them before any shading. One confident, curved flick with the embossing tool per whisker, and when the graphite goes over the muzzle the whiskers appear as clean white curves that no pencil can break.
If the drawing is already shaded, lift each whisker with an eraser pen cut at an angle, in a single stroke, or lay it in with a white gel pen as a last resort.
What rarely works is drawing them slowly: a hesitant whisker wobbles, and a wobbly whisker is the first thing anyone notices.
Did this article help you? You can buy me a coffee so I can keep creating free guides like this one.