Updated on by Rita Moreira
Sooner or later, every pencil artist glances at a tablet and wonders: would my drawing skills survive the move to a screen? It is a fair question, and the internet answers it badly, usually with brush packs and hardware reviews instead of the thing that actually matters.
So this is a bridge article. We will look at what realism means in digital painting, where digital art came from, what transfers directly from graphite to screen (more than you think), what genuinely changes, and how to make the leap without feeling like a beginner again.
What is realism in digital painting?
Realism in digital painting is the application of classical realist technique, tonal values, light and shadow, proportion and texture, inside painting software, with a stylus and tablet replacing pencil and paper. The goal is the same photographic fidelity as traditional realistic drawing; the difference is the medium, which adds editable layers, undo and infinite brushes.
Digital art is a broad family: bitmap work (photo manipulation, digital painting, pixel art), vector illustration, and 3D modelling. Digital painting is the branch that behaves most like traditional media, because its brushes are built to simulate real ones, complete with texture, opacity and the feel of paper grain. That simulation is precisely what lets a realist carry their technique across.
Where does digital art actually come from?
Digital art is older than most people assume. The earliest electronic work in the V&A’s national collection of digital art is Ben Laposky’s “Oscillon 40” from 1952, made by manipulating waves on an oscilloscope, and the museum acquired its first computer-generated images back in 1969. Through the 1950s and 60s the field lived in university and corporate labs, where artists had to collaborate with programmers just to get machine time.
Only with the personal computers of the 1980s did it reach working artists, and Tate now treats digital art as an established category like any other. In other words: the medium is young, but it has decades of history and museum walls behind it.
Can digital painting really be as realistic as pencil?
Yes, to the point of provoking disbelief. The best-known proof is by the British artist Kyle Lambert, who painted a portrait of Morgan Freeman in the Procreate app on an iPad Air using his finger: over 200 hours of work and around 285,000 brush strokes. The result looked so photographic that news outlets investigated whether it was genuinely a painting. It was, stroke by stroke, backed by a full time-lapse.
That story also settles the “digital is cheating” debate. Some people still rate digital work as lesser because the tools feel convenient, but the technical base it demands is exactly the same as traditional painting. Undo does not see values for you, and no brush knows where the light falls. Speed is a gift of the medium; skill still has to walk in with the artist.
What transfers from pencil to digital, and what changes?
Almost everything that makes your pencil work good transfers intact, because realism lives in your eye and your decisions, not in the tool. The four fundamentals of realistic pencil drawing, values, light source, blending and edges, are the same four you will lean on in front of a screen.
| Fundamental | With graphite | On screen |
|---|---|---|
| Tonal values | Pencil grades, pressure | Brush opacity, greys |
| Light and shadow | Layered graphite | Same logic, new tools |
| Edges | Blending stump, eraser | Soft and hard brushes |
| Proportion | Guidelines, measuring | Identical, plus grids |
| Corrections | Careful erasing | Undo and layers |
What changes is the workflow. Layers let you separate sketch, values and texture, and edit each at any stage, even after the piece looks finished. Colour arrives without mixing, zoom replaces squinting, and materials never run out. If your grasp of light and shadow in drawing is solid, the screen simply removes friction between your eye and the result.
The one genuinely new skill is colour. Graphite trains you to think entirely in values, and that turns out to be the best possible preparation: a colour that looks wrong is usually a value that is wrong underneath. Pencil artists who move to digital tend to paint convincing colour surprisingly fast, because the hard part was already learnt in grey.
In my classes, the pattern is consistent: students with a year of graphite behind them adapt to a tablet in weeks, while those who start directly in software tend to get stuck chasing brushes to compensate for fundamentals they never built. The two media feed each other; neither replaces the other.
How should a pencil artist start digital painting?
Start in greyscale, with one simple round brush. That single decision turns the unfamiliar screen back into familiar territory: no colour to manage, just the values and edges you already know from graphite. The first thing I ask students to do digitally is the same value-scale exercise they did on paper, dark to white, smooth transitions, because it calibrates the stylus pressure the way it once calibrated their hand.
Redraw a subject you have already done in pencil, so you are learning the tool rather than the subject. You will also notice small luxuries: the soft background you once blended patiently by hand, as in drawing a blurry background with pencil, becomes a single blur adjustment, though knowing why the background should soften is still knowledge the filter cannot supply. Any established painting app will do for this stage, whether Procreate, Photoshop or a free option such as Krita; at beginner level, the software matters far less than the practice.
And if you are starting from zero on both fronts, build the foundation first: my roadmap on how to learn to draw as an adult applies to the screen exactly as it does to paper.
Frequently Asked Questions
How do you paint realistic skin digitally?
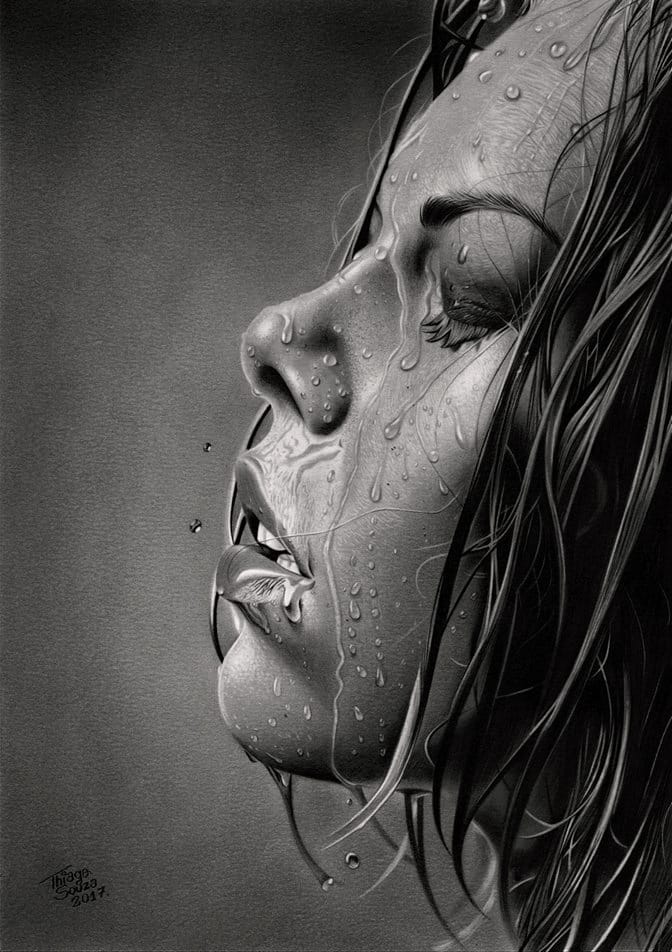
With the same logic as graphite skin: establish the large value shapes first, keep transitions soft where the form turns gradually, and add pores and texture only at the very end, on their own layer.
The most common beginner error is texturing too early, before the underlying values read as a face. Blur and soften first, detail last.
Everything in my guide to drawing realistic skin texture applies on screen; layers simply let you separate the smooth base from the texture pass, which is harder to control on paper.
What is semi-realism in digital art?
Semi-realism is a style that keeps realistic rendering, believable light, shading and skin, while simplifying or stylising the underlying shapes, often with slightly enlarged eyes or cleaner features.
It sits between full realism and stylised illustration, and it is popular in digital portrait work precisely because it forgives small proportion errors while still looking polished.
Technically it is not a shortcut: you need the same command of values and light as full realism, applied to shapes you have deliberately redesigned. Many artists reach it after realist training, not instead of it.
Which digital realism artists should I study?
Start with Kyle Lambert, whose Morgan Freeman time-lapse shows every stage of a photorealistic digital portrait being built stroke by stroke.
Beyond him, browse platforms such as ArtStation or DeviantArt searching for “realism”, and prioritise artists who publish process videos or layer breakdowns over those who only post finished pieces.
Watching work in progress teaches you sequencing, big shapes first, values before texture, details last, which is the exact skill a finished image hides. One honest time-lapse is worth fifty polished portraits in your feed.
Did this article help you? You can buy me a coffee so I can keep creating free guides like this one.