Updated on by Rita Moreira
Eyes are usually the first thing we look at in a portrait, and the first thing that gives a beginner away. When I teach people how to draw a realistic eye, I see the same pattern every time: they rush into the shading before the structure is right, and then no amount of blending can save it. So in this guide we are going to do it properly, in five steps, in the order that actually works.
You do not need talent to follow along. You need a pencil, a scrap of paper and about half an hour. I have taught this exact sequence to complete beginners, and by the end of it most of them are quietly surprised by what is sitting on their page.
What makes an eye drawing look realistic?
A realistic eye drawing recreates the structure of a human eye through accurate proportions, controlled shading and a believable catchlight, the small reflection of the light source. Realism comes from three decisions: building the shape before adding any tone, keeping every shadow consistent with one light direction, and placing the catchlight where that light would actually fall.
Notice what is not on that list: expensive materials, years of practice, or a steady hand blessed at birth. Those three decisions are learnable, and this tutorial walks you through each one.
What you’ll need (a short list, nothing fancy)
You only need four things to draw a convincing eye: an HB pencil, a softer pencil (2B or 4B), an eraser and any sheet of printer paper. That is genuinely it for your first attempts. Everything else is refinement, not requirement.
- HB pencil for construction lines and light values;
- 2B and 4B pencils for the darker shading of the pupil, the crease and the lash line;
- An eraser: a standard rubber works, but a kneaded eraser (sold as a putty rubber in most UK shops) lets you lift graphite gently, and an eraser pen gives you precision for cleaning inside the iris;
- Printer paper to practise on, plus one spare sheet for the measuring trick in step 2.
If you want to invest a little, Derwent pencils are the classic British choice: the company has been making them in Cumbria since 1832, and their Sketching sets are easy to find at Hobbycraft, Cass Art or Amazon. Faber-Castell and Staedtler are equally reliable. But please do not wait for a delivery to start: the pencil in your kitchen drawer will teach you the same lessons tonight.
Step 1: Sketch the eye shape with four construction lines
Start by drawing four light guide lines: two horizontal lines for the upper and lower eyelids, and two vertical lines marking the inner and outer corners. These four lines are scaffolding, so keep them faint. You will erase every one of them later, and pressing hard now creates grooves in the paper that haunt your shading forever.
Inside that frame, draw the almond shape of the eye. Work from the outer corner inwards and let the curves stay soft and rounded: real eyes have almost no straight edges. Then place the circle of the iris. Here is the detail that removes a lot of beginner anxiety: the iris does not need to sit dead centre. In a natural, relaxed gaze, the upper eyelid covers part of the iris and it often sits slightly off centre. Perfectionism here works against realism.
Do not think about light, shadow or lashes yet. This step is only about shape, and it should take you five minutes at most.
Step 2: Place the eyebrow with the paper trick
The fastest way to position an eyebrow correctly is to measure with a spare sheet of paper instead of guessing by eye. Most tutorials skip the eyebrow entirely or bolt it on at the end, which is why so many finished drawings have a beautiful eye floating under a brow that belongs to someone else.
Here is the trick I teach every student. Hold the edge of a blank sheet against your drawing and mark the height of the eye on it, from the lower lid line to the upper lid line. Now slide the sheet up and use that same marked distance to set how far above the eye the brow begins. One consistent measurement, taken in seconds, and the proportions lock into place.
Draw a gently curved line for the brow’s lower edge, with its highest point roughly above the outer third of the eye. Then build the brow on top of that curve, keeping it fuller near the nose and tapering to a fine point at the outer end. Individual hairs come later; right now you only need the correct mass in the correct place.
Step 3: Clean up your construction lines
Before any shading begins, erase every construction line, including the ones crossing the iris. This is the step people skip because it feels like housekeeping, and it is precisely why their shading turns muddy: graphite from old guide lines mixes into the midtones and leaves ghost streaks that no blending will hide.
Take your time here. An eraser pen (or a kneaded eraser moulded to a point) lets you get inside the iris circle and along the lid edges without disturbing the outline you want to keep. When you finish, you should have a clean, faint line drawing of an eye and brow, and nothing else on the page.
Step 4: Start shading, from dark to a single light source
Decide where your light comes from before you place a single shadow, because every value in the drawing has to obey that one decision. Pick a direction (upper left is a comfortable default) and stick to it: the shadows under the upper lid, the gradient across the iris and the catchlight in step 5 all depend on it.
Begin with the darkest element, the pupil, using your 4B. Make it genuinely dark; beginners almost always stop two shades too early, and a grey pupil drains the life out of an eye. Then shade the iris around it, darker at the outer ring and under the upper eyelid (which casts a real shadow on the eyeball), lighter towards the centre.
Two details make an enormous difference at this stage:
- The white of the eye is never white. The eyeball is a sphere sitting in a socket, so give the sclera a soft grey gradient at the corners and under the upper lid. Leaving it paper-white flattens the whole drawing instantly.
- Blend with intention, not habit. A blending stump (or a rolled piece of paper) smooths the iris and skin tones, but leave some pencil texture in the iris: those fine radial lines read as realism.
Step 5: Add the catchlight and the final details
The catchlight, that small bright reflection sitting on the pupil and iris, is what makes a drawn eye look alive, and it must sit on the same side as your light source. This is the single most common inconsistency I correct in students’ work: light coming from the left, catchlight floating on the right, and an eye that feels subtly wrong without the viewer knowing why.
The cleanest method is to plan the catchlight and shade around it, keeping the paper untouched there. If you have already shaded over it, mould your kneaded eraser to a point and lift the graphite out. Keep the shape simple: a small circle or a soft-edged rectangle (a reflected window) both work beautifully.
Then finish with the details, in this order: darken the lash line, pull individual lashes outwards in curved strokes (longer and denser at the outer corner, and never evenly spaced, symmetry kills realism here), suggest the small pink caruncle in the inner corner, and add the lower lashes sparingly. Step back. You have drawn a realistic eye.
Common beginner mistakes (and how to fix them)
Every one of these mistakes is normal, and every one has a simple fix. I have made all five myself.
- Shading too timidly. If your drawing looks washed out, your darks are not dark enough. Push the pupil and lash line with a 4B until they are nearly black.
- A paper-white sclera. Add the soft corner shadows; the eyeball is a sphere, not a wall.
- Catchlight on the wrong side. Check it against your chosen light direction, always.
- Lashes like a fence. Vary length, spacing and curve. Clumps of two or three lashes look far more natural than even rows.
- Fighting to centre the iris perfectly. You already know this one: relaxed eyes rarely centre the iris, so let it go.
How long does it take to learn to draw realistic eyes?
With 30 to 60 minutes of practice a day, most beginners draw a recognisably realistic eye within 2 to 4 weeks. That figure comes straight from my own students, and the ones who get there fastest share one habit: they repeat the same five steps on a fresh eye each session instead of polishing one drawing for a fortnight.
Reaching real versatility (different ages, angles and lighting) usually takes 2 to 3 months of that same steady practice. If you want a structured path for the whole journey, from the eye you drew today to full realistic portraits with hair and skin texture, my step-by-step guide takes you there in the same plain language as this tutorial: learn to draw realistic eyes, mouths, hair and skin, from first stroke to finished portrait.
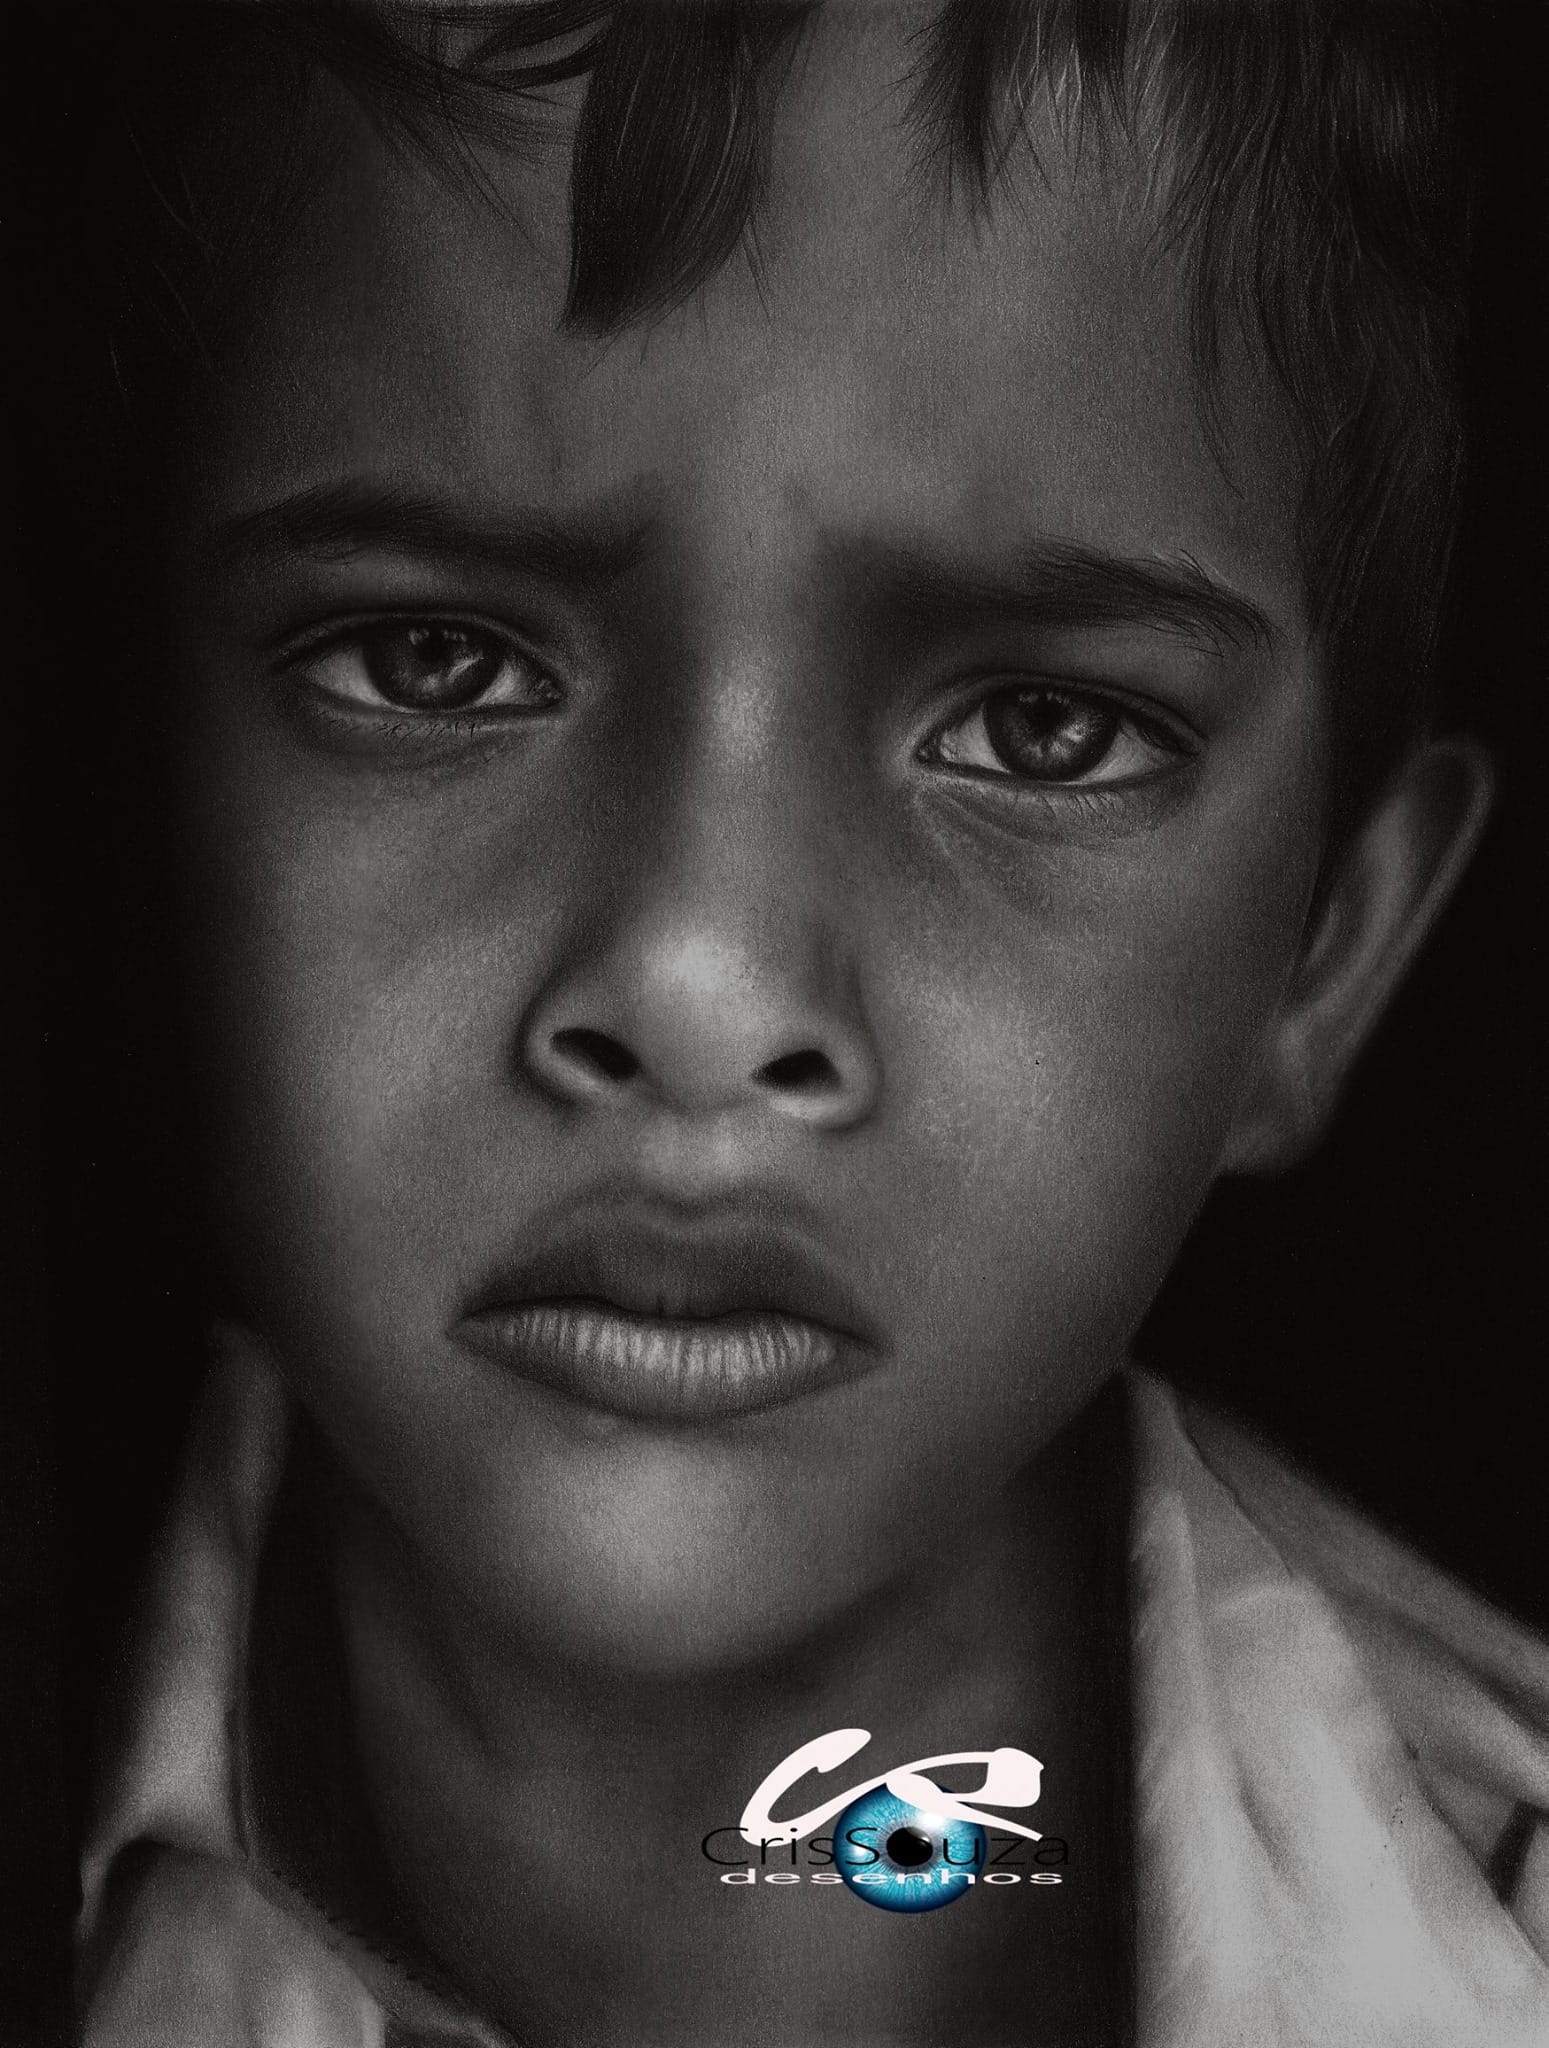
Frequently Asked Questions
What pencils do you need to draw a realistic eye?
Three pencils cover everything in this tutorial: an HB for construction lines and light tones, a 2B for midtones, and a 4B for the pupil, the crease and the lash line. Softer grades (6B and beyond) are lovely for deep blacks but entirely optional at this stage.
Any brand sold in the UK will do the job; Derwent, Staedtler and Faber-Castell are the ones I see most in my students’ pencil cases, and a basic sketching set from Hobbycraft or Amazon costs less than a takeaway. The paper matters less than people think: standard printer paper is perfect for practice.
How do you draw realistic eyelashes?
Draw each lash as a quick, curved stroke that starts at the lash line and flicks outwards, lifting your pencil at the end so the stroke tapers naturally. Lashes grow in slightly messy clumps, longer and denser at the outer corner of the eye, shorter and sparser towards the inner corner and on the lower lid.
The two mistakes that break realism are drawing them straight (they always curve) and spacing them evenly like a fence. Work with a sharp 2B, vary every stroke a little, and stop sooner than you think: too few lashes reads better than too many.
How do you shade an eye so it looks three-dimensional?
Commit to one light direction and let it govern every value in the drawing. The eyeball is a sphere, so the white of the eye needs soft grey shadows at both corners and under the upper lid, which also casts a subtle shadow across the top of the iris.
Build your darks in layers, starting with the pupil (the darkest point of the whole drawing) and grading the iris from a dark outer ring to a lighter centre. Blend the skin around the eye with a stump or rolled paper, keep some texture inside the iris, and protect the catchlight so it stays bright.
Did this article help you? You can buy me a coffee so I can keep creating free guides like this one.