Updated on by Rita Moreira
If you have just started drawing portraits, lips probably worry you more than almost any other feature. I see it in my students all the time: they will happily tackle eyes and noses, then freeze at the mouth. Here is the honest truth: drawing realistic lips is not about talent. It is about following a clear method, and the whole method fits into 4 steps that you can practise tonight.
To draw realistic lips, you first build a light framework with two construction lines (a horizontal line for the width and a vertical line for the height), erase those guidelines before shading, shade the lip planes with one consistent light source, and finish with the vertical lip wrinkles and highlights. That is the entire process, and this guide walks you through it step by step.
What you will need
To draw realistic lips you need surprisingly little: an HB pencil for the framework, a 2B and a 6B for the shading, an eraser pen for the construction lines, a kneaded eraser for the highlights and a sheet of smooth paper. That short list covers every step of this tutorial, and you may well own most of it already.
- HB, 2B and 6B graphite pencils. I am partial to Derwent Graphic pencils, made in the Lake District since 1832, but the Staedtler Mars Lumograph range works just as well. You will find either at Hobbycraft, Cass Art, Jackson’s Art or Amazon.co.uk, and a basic sketching set costs less than a takeaway.
- An eraser pen (precision eraser). This is the key tool for step 2. Its narrow tip lifts your construction lines cleanly without smudging the rest of the drawing.
- A kneaded eraser (putty rubber). Essential for pulling out highlights at the end. You shape it into a point and lift graphite instead of scrubbing at the paper.
- Smooth paper. For lips I reach for smooth or hot-pressed paper: heavily textured paper breaks up the soft skin texture you are trying to build.
If you are still putting a kit together, do not overthink it. An HB, a 6B and the two erasers will carry you through this whole tutorial with room to spare.
How to draw realistic lips in 4 steps
The process runs from framework to finish: build the structure with construction lines, erase them, shade the planes, then add the fine details. Here is each step in full.
Step 1: build the framework with two construction lines
Start with two very light lines in HB: a horizontal line for the width of the mouth, crossed at its centre by a shorter vertical line for the height. The width is always noticeably greater than the height. On an adult mouth at rest, the width usually sits somewhere between one and a half and two times the combined height of both lips.
On one half of the horizontal line, draw a small curve that dips down and rises back up to meet the centre. Repeat on the other half. You have just built the Cupid’s bow, the soft “M” shape of the upper lip that gives every mouth its character.
Now close the outline: sweep the curve of the bottom lip from one corner of the mouth to the other, then finish with the top lip. If the bottom lip looks too thin, do not erase anything yet. Draw a second curve slightly lower and let the shading decide between them later. At the framework stage, correcting by adding light lines always beats erasing at every wobble.
Step 2: erase your construction lines
This step takes two minutes, and it is the one that separates a nice drawing from a realistic one. Oddly, almost nobody explains why it matters. A realistic drawing is defined by the absence of visible outlines: real lips have no line around them, only changes in tone. All the realism lives in the shading, not in the linework.
Take your eraser pen and lift out the construction lines (the horizontal, the vertical and any stray framework marks), leaving only the faintest ghost of the lip outline. That remaining ghost will not survive the shading; it gets absorbed into the tones. When a student brings me lips that “somehow don’t look real”, this is the most common diagnosis: the framework is still sitting there in plain sight, giving the construction away.
Step 3: shade the lip planes with one light source
Before your 2B touches the paper, decide where the light is coming from, and do not change your mind halfway through. With light from above, which is the most common setup, the top lip falls almost entirely into shadow because its planes angle downwards, while the bottom lip catches the light face-on and stays brighter. That is why, in most references, the top lip is drawn darker than the bottom lip.
Think of each lip as a set of planes rather than a flat surface: the top lip has three (one central, two at the sides) and the bottom lip behaves like a soft cylinder with two cushions. Shade with light strokes of the 2B that follow the curve of each plane, and save the 6B for the deepest areas: the centre line where the lips meet and the corners of the mouth, which are always the darkest part of any mouth. If you use a blending stump, keep the passes gentle. Graphite from a 6B saturates quickly, and once the tooth of the paper is clogged, the texture is hard to win back.
Step 4: lip wrinkles, highlights and touch-ups
Real lips carry fine vertical wrinkles running from top to bottom. Draw them with a sharp pencil, following the curve of the lip (never ruler-straight, or they read as a barcode), and make them more visible on the bottom lip, where the light reveals them. This is the detail most tutorials skip, and it is precisely what pushes lips from “decent” to realistic.
To finish, pull out the highlights with your kneaded eraser: mould it to a point and lift graphite wherever the light hits directly, usually the centre of the bottom lip and the ridge of the Cupid’s bow. A final pass over the corners with the 6B, a soft shadow under the bottom lip to settle the mouth into the face, and your lips are done.
Why are lips so hard to draw?
Lips are hard because they stack three challenges at once: cylindrical forms that change dramatically with the viewing angle, an anatomy every viewer knows intimately (so any error in proportion is spotted instantly), and shading that depends entirely on the direction of light. Unlike an eye, where the iris and lashes give you clear anchor points, lips are almost all soft tonal transition. That is exactly why the method matters: the two construction lines solve proportion, and shading by planes solves volume. With those two tools, most of the difficulty simply falls away, and what remains is practice. Not years of it, either: a few focused evenings make a visible difference.
Drawing lips from other angles and expressions
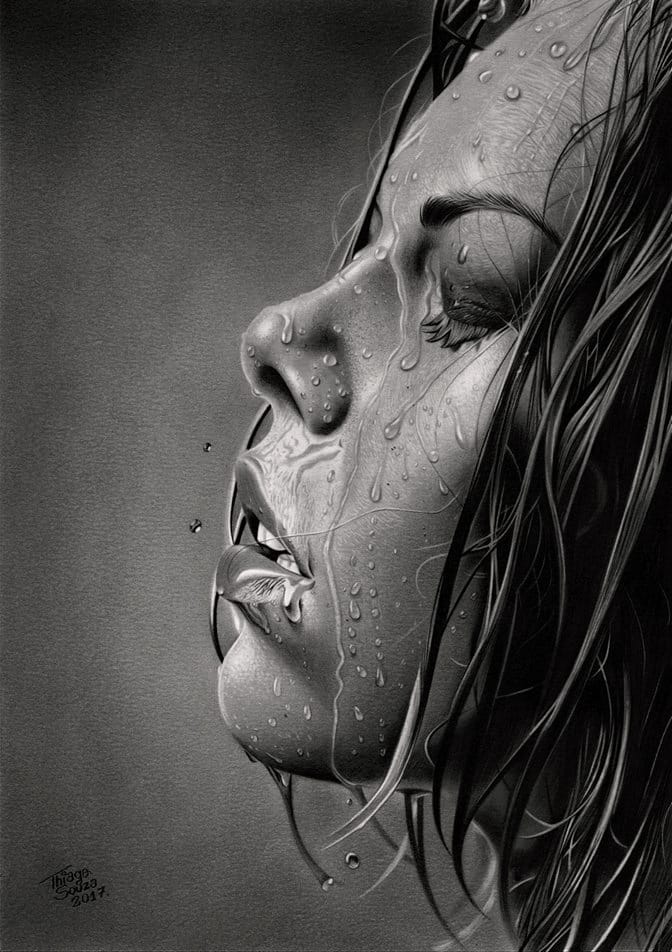
Once the front view at rest feels comfortable, every other pose is a variation on the same framework. In the three-quarter view, the far half of the mouth foreshortens and the Cupid’s bow shifts off centre, so measure each half separately. In profile you only see half the mouth, and the key is the angle between the lips: the top lip usually protrudes slightly over the bottom one. In a smile, the centre line stretches and curves upwards, the lips thin out and the teeth appear. Shade the teeth as one soft, bright band, hinting at the gaps with the lightest touches; outlining each tooth is the fastest way to make a smile look like piano keys.
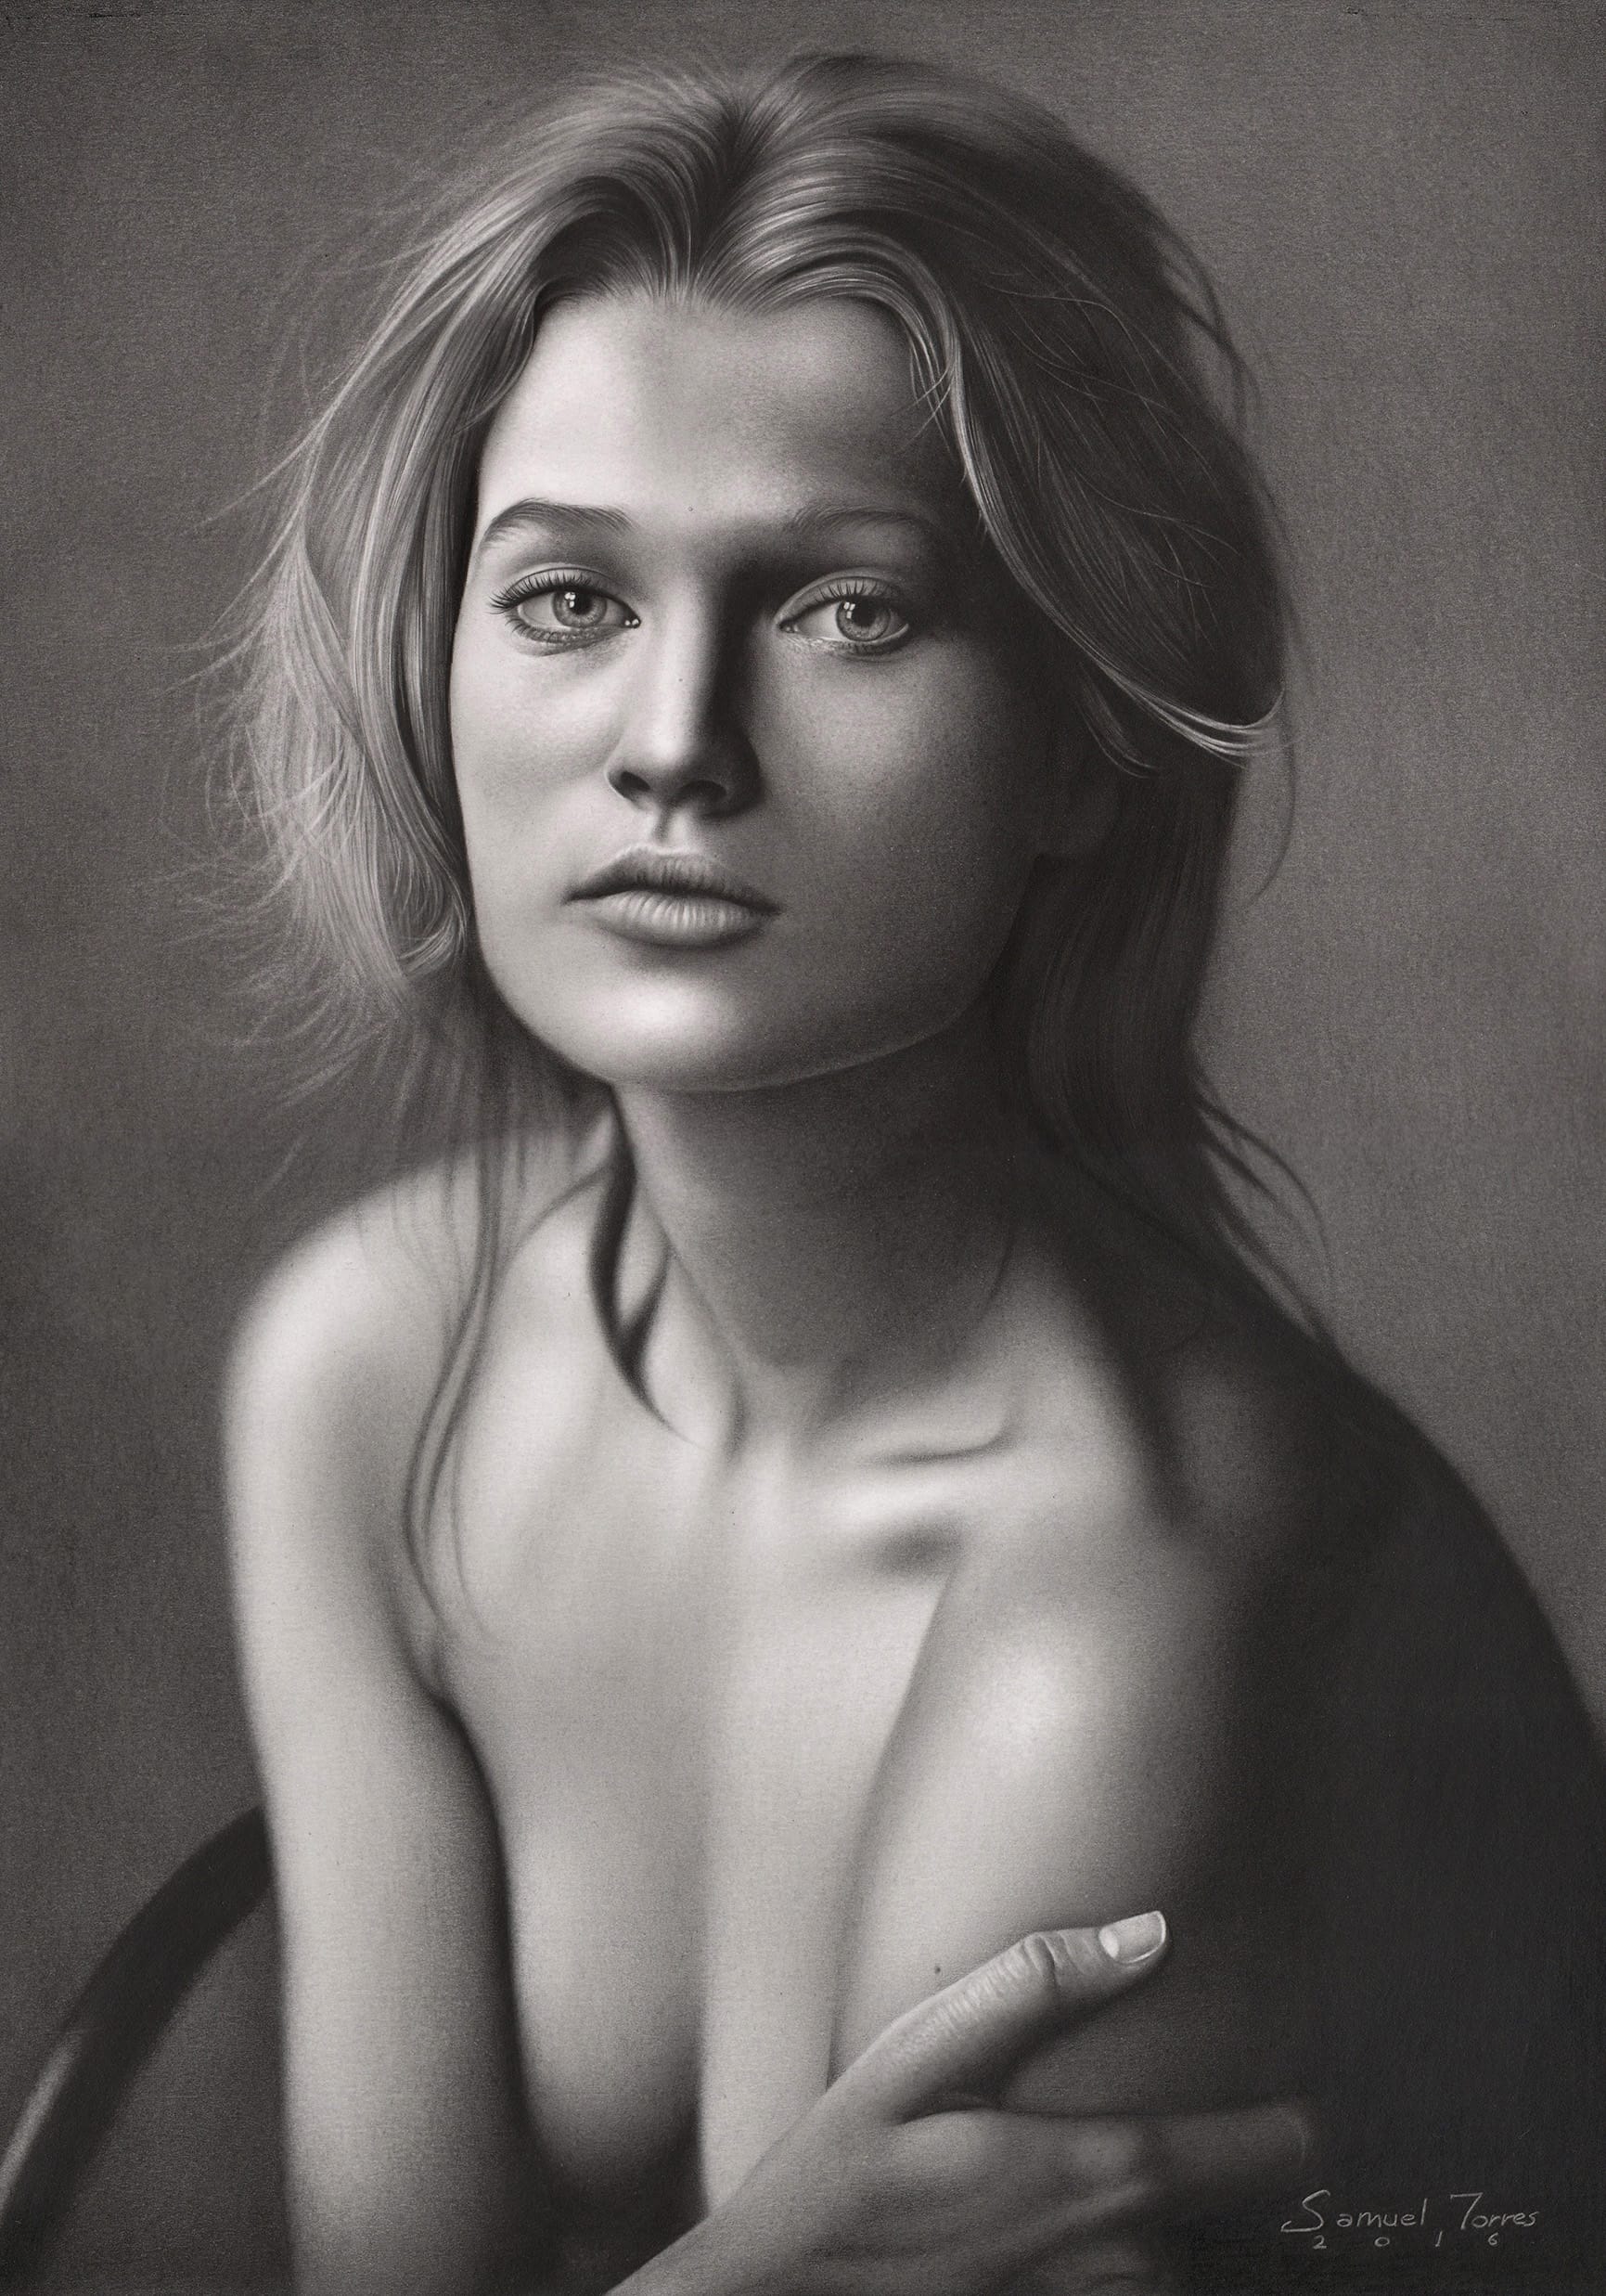
Work these variations exactly as you worked the front view: framework, erase, planes, details. Observation does the rest. And if eyes are the next feature on your list, I have written a guide using the same method in how to draw a realistic eye.
If you would like to go beyond the mouth and learn the whole face, our complete realistic drawing guide teaches you to draw realistic eyes, lips, hair and skin with tested methods, explained with the same step-by-step approach as this article.
Frequently asked questions
How do you shade lips realistically?
Choose your light source first and keep it fixed for the whole drawing. With light from above, shade the top lip darker (its planes angle away from the light) and leave the bottom lip brighter, saving your deepest 6B tones for the centre line and the corners of the mouth.
Work in light strokes that follow the curve of each plane, blend gently, and lift the highlights out at the very end with a kneaded eraser. The order matters: general shadows first, lip wrinkles second, highlights last. Start with the details and the blending that follows will destroy them, forcing you to do the work twice.
Should the top or bottom lip be darker?
In most lighting, the top lip is darker. Light usually comes from above, and the planes of the top lip angle downwards, away from it, while the bottom lip faces the light directly and catches it. Making the top lip darker is one of the quickest ways to add believable volume to a mouth.
That said, it is a guideline rather than a law: with strong light from below (a phone screen in the dark, stage lighting), the relationship flips. The reliable rule is to trust your reference and keep the light source consistent across the whole drawing, lips included.
How long does it take to learn to draw lips?
With a structured method, most beginners produce a convincing pair of lips within two to three weeks of short, regular sessions, around 20 to 30 minutes a few evenings a week. The framework stage comes quickly, usually within the first two or three attempts; the shading takes longer because it trains hand pressure, which only improves with repetition.
My advice is to draw the same mouth several times rather than a different mouth every day: repeating one subject shows you your own progress and turns each mistake into a correction you actually remember. With a bit of practice, the fear goes long before the skill peaks.
Did this article help you? You can buy me a coffee so I can keep creating free guides like this one.